Sneaker Restoration
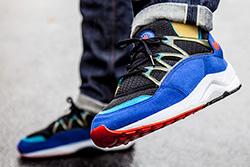
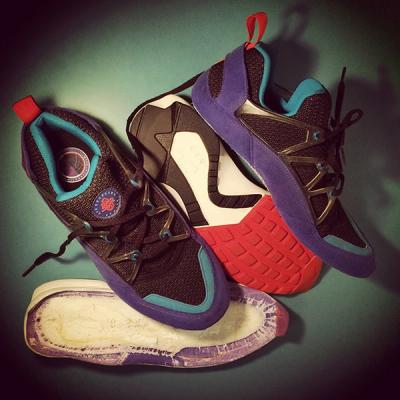
Not everything made in 1993 was built to last 'til infinity. It's a sad fact, one we have to face... or do we? About a month ago a mate of mine posted up a pair of Nike Air Huarache Light Ultramarine OGs on his Gram along with the simple caption 'Gotta love new shoes'. Bam, my eyeballs popped. The dude's still in high school, where did he find these gems? I hit him on the PM to find out what the deal was. It turns out his mate's father used to coach tennis and was given these to wear during the 1994 Australian Open, after which he turfed 'em in the cupboard where they've been chilling for the past 20 years, until now. It also turned out that, unfortunately for my mate, they were a size too small for him. Negotiations opened and a few days later we linked under the clocks at Melbourne's iconic meeting spot, the Flinders Street Station steps. I sat there for a while just gawking at my prize, these things are pure sex and I've gotta say they had me feeling pretty aroused.
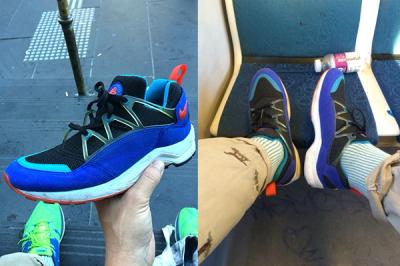
The Flyknits flew off my feet and it was on with the Huarache Lights. Riding the silver stallion home to my palace I couldn't stop clocking the Huas, I had to share my excitement. I hit up my mate Gusto Da Ninja (a Hua Light-head since forever) on Line with the above photos. 'Dope,' he said, 'but good chance you'll have to reglue those at some stage'. Thanks Gusto, ya bloody killjoy.
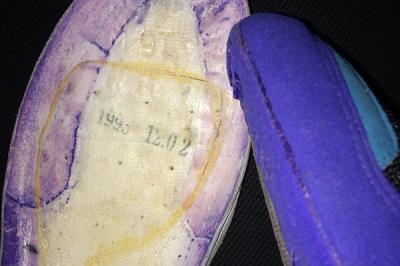
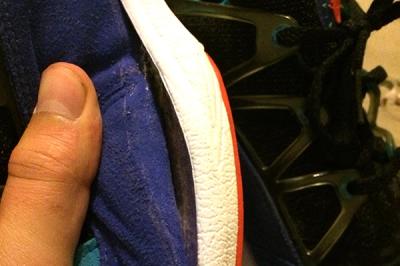
Sure enough by the time I arrived back at my mansion the torment had already begun. While inspecting the separation, tears welled in my eyes and I broke down. Mid tantrum I hit the bottle, smashing a few fingers of ouzo and then blessed an art starter. Soon I had my shit back together and I jumped into the project feet first (wak pun, I know. #notsorry). I began peeling at the weak points and quicker than you can say shoegamef#$%edup, my Huas had done a Gremlin and straight multiplied. And then there were four – pieces.
It's gotta be said at this point that, although I'm nowhere near gluru status, I've glued a gang of sneaks to varied success in the past. I used to reside in Tokyo and was constantly attracted to DS vintage heat. Unwearable vintage heat. With an 'I got this' attitude, I began experimenting with different glues and techniques. Some things worked, some things didn't. The most valuable lesson I learned was that if a sole is peeling a bit you've gotta take control and just rip the bloody thing off. If you try to maintain a separation situation bit by bit you are deemed to a life of sticky hands and endless frustration.
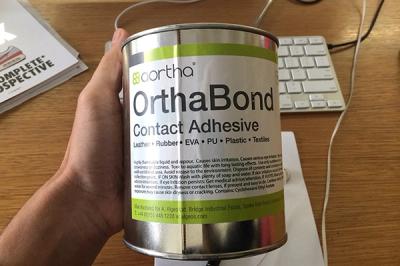
So, next up I had to find the right product. Searching online I found a swag of glues that were perfect for the job, none of which were available in Australia. Trips to the hardware store and cries for help in forum restoration threads left me high and dry. Finally I found a wholesaler who provides materials to shoe makers, and after a couple of phone calls and courier issues, a week later I had what I needed to continue the resurrection.
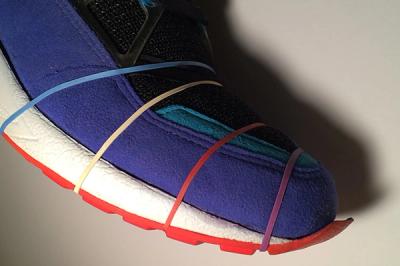
During the week-long wait for the glue to come at me, I became restless and my OCD urges set in. I just couldn't stop messing with my separated sneaks. I spent pretty much an entire night taking the shot above using nothing but my bedside lamp for lighting, my iPhone to shoot with and a jazz trumpet for motivation. Hope you like it.
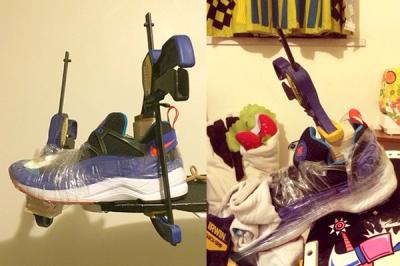
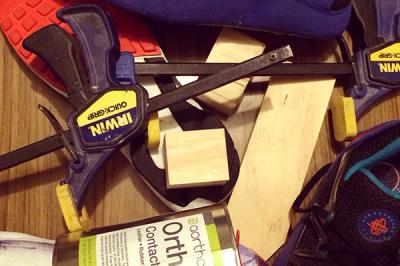
Contact adhesives don't always require clamping, but I wanted to get these bad bois just right. When you glue a sneaker back together, unless you have the original last that they were built on, it's guaranteed that you're going to have trouble getting the sole to meet the upper all the way around. The rubber band idea above looked real cool, but definitely wasn't gonna work. So, I got some tight clamps, a few chunks of wood and the secret ingredient... tape. Shitloads of tape.
Applying the glue was a toxic mess, without the T-shirt I had tied around my face I'm pretty sure I would have kicked the bucket from fume inhalation. I applied the glue with a paintbrush, actually I went through approximately six brushes to glue both. As I mentioned before getting the sole sitting on the upper flush all the way around is a mission, I know the tape mummification method isn't pretty, but hey, it worked.
I kept each shoe clamped for at least 24 hours. Yes, that is a skateboard. If you use a clamp on a bench it can restrict your access, the skateboard method allowed me to gain 360 degree maneuverability as well as portability.
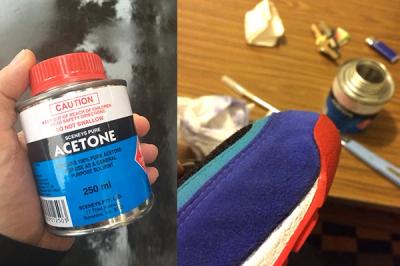
After unwrapping each shoe from their hi-tech strapping, the only thing left to do was tidy up. Acetone worked perfectly for not only removing glue mess I had made, but also the original excess factory glue.
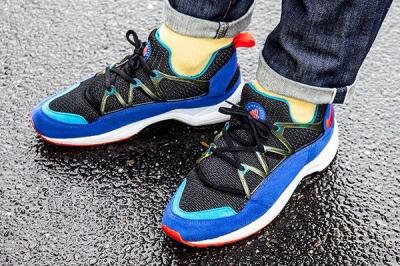
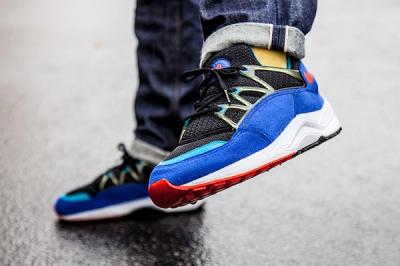
Finally the job was done. I had bought these 93 gems back from the grave. Broken hearts are mendable, folks, all you've gotta do is dream, believe, create and hopefully you'll succeed.
PS. I never wanna do this again!
PPS. You feelin' these Gusto?! Sell 'em to ya for $1993, #realtalk. XOX
- Sweet Kicks Willy
https://www.youtube.com/embed/6NgBF35oroc